|
depage-cms v2.7.0
Website editing made easy
|
|
depage-cms v2.7.0
Website editing made easy
|
For every image file you can set the gravitational center of the image. This image center will be used when images have to be cropped to fit inside the layout of your design. The chosen center can be used to crop the files themselves (e.g. through depage-graphics) or just inside the layout through CSS (e.g. the object-fit property).
The chosen image center will be used for all instances, where the image is used inside your project.
For images that are already used on a page, you can choose the image center by clicking on the cross hairs-button below the image thumbnail:
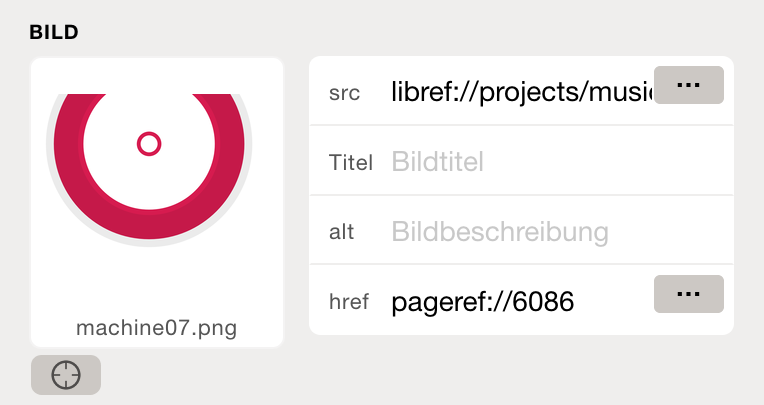
Alternately you can also double click on the image thumbnail.
You can also choose the image center directly for files in the file library (e.g. directly after uploading new files), by clicking with the right mouse button on an image and choosing Choose image center from the context menu.
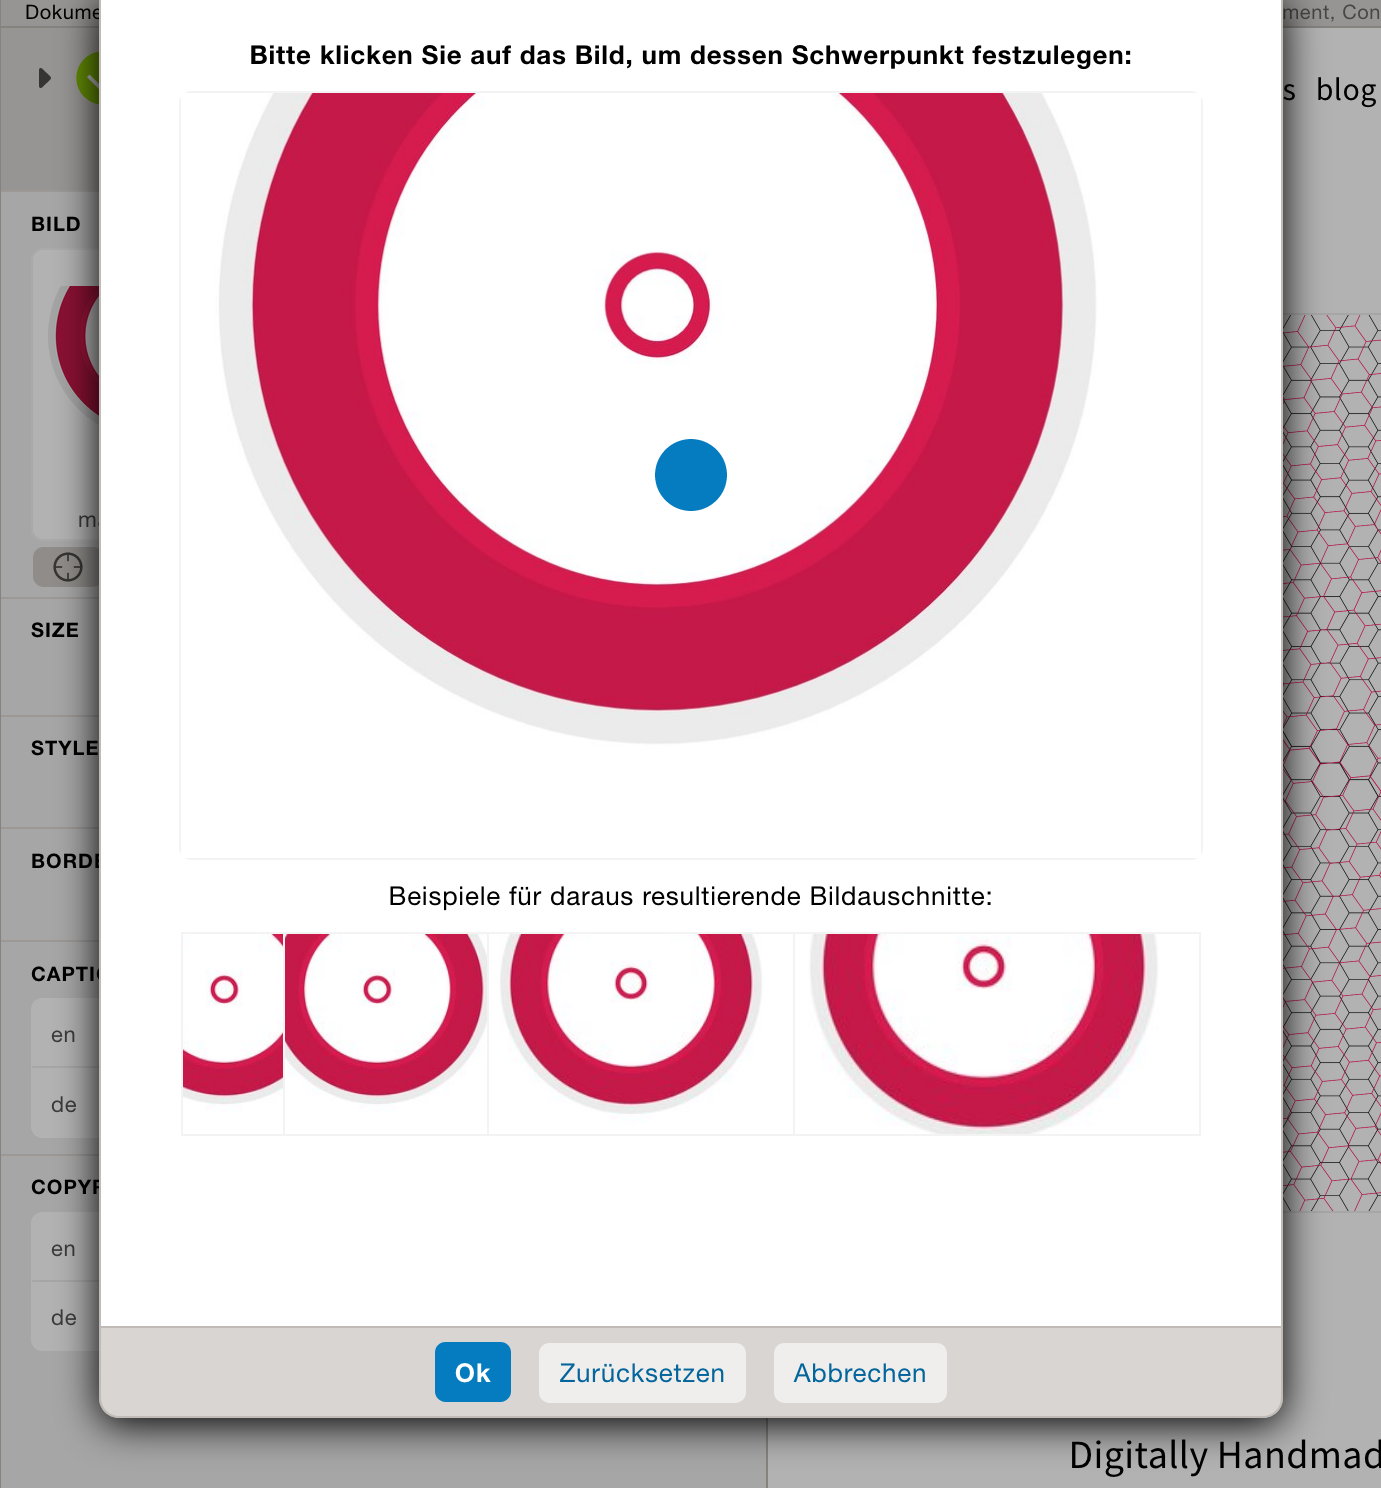
To choose a specific point as the new gravitational center of the image, you just have to click on the chosen point on the image. The current center is displayed as a blue circle. The default is the image center (50% 50%). And you can always reset the image center by clicking reset.
Below the you will see live examples how the image will be cropped for certain display aspect ratios (from portrait to a wide landscape).